> ## Documentation Index
> Fetch the complete documentation index at: https://docs.flowpayroll.ai/llms.txt
> Use this file to discover all available pages before exploring further.
# Managing clients
> Add and configure the businesses you run payroll for — for example as a staffing agency or bureau.
If you run payroll for more than one business — for example as a staffing agency or bureau — each business is a **client** in Flow Payroll. Clients keep people, pay runs, invoices, and credit notes fully separated per business, while you manage everything from one account.
The clients feature is part of the bureau billing module. You need an accounting integration connected (Settings → Billing → Integrations) to sync clients and invoices to an external provider such as Xero.
 ## What a client is
A client represents a company you serve. It holds:
* **Identity details** — name, company registration number, VAT number
* **Finance defaults** — default revenue account and tax rate used when creating invoices for this client
* **Billing preferences** — invoice format, PO number requirement, attachment requirement, payment terms
* **Contacts** — the people at the client company you bill or correspond with
* **Tags** — custom labels for filtering and reporting
Each client has its own pay run history, payslips, and billing records. Switching between clients shows only the data for that company.
## Viewing your clients
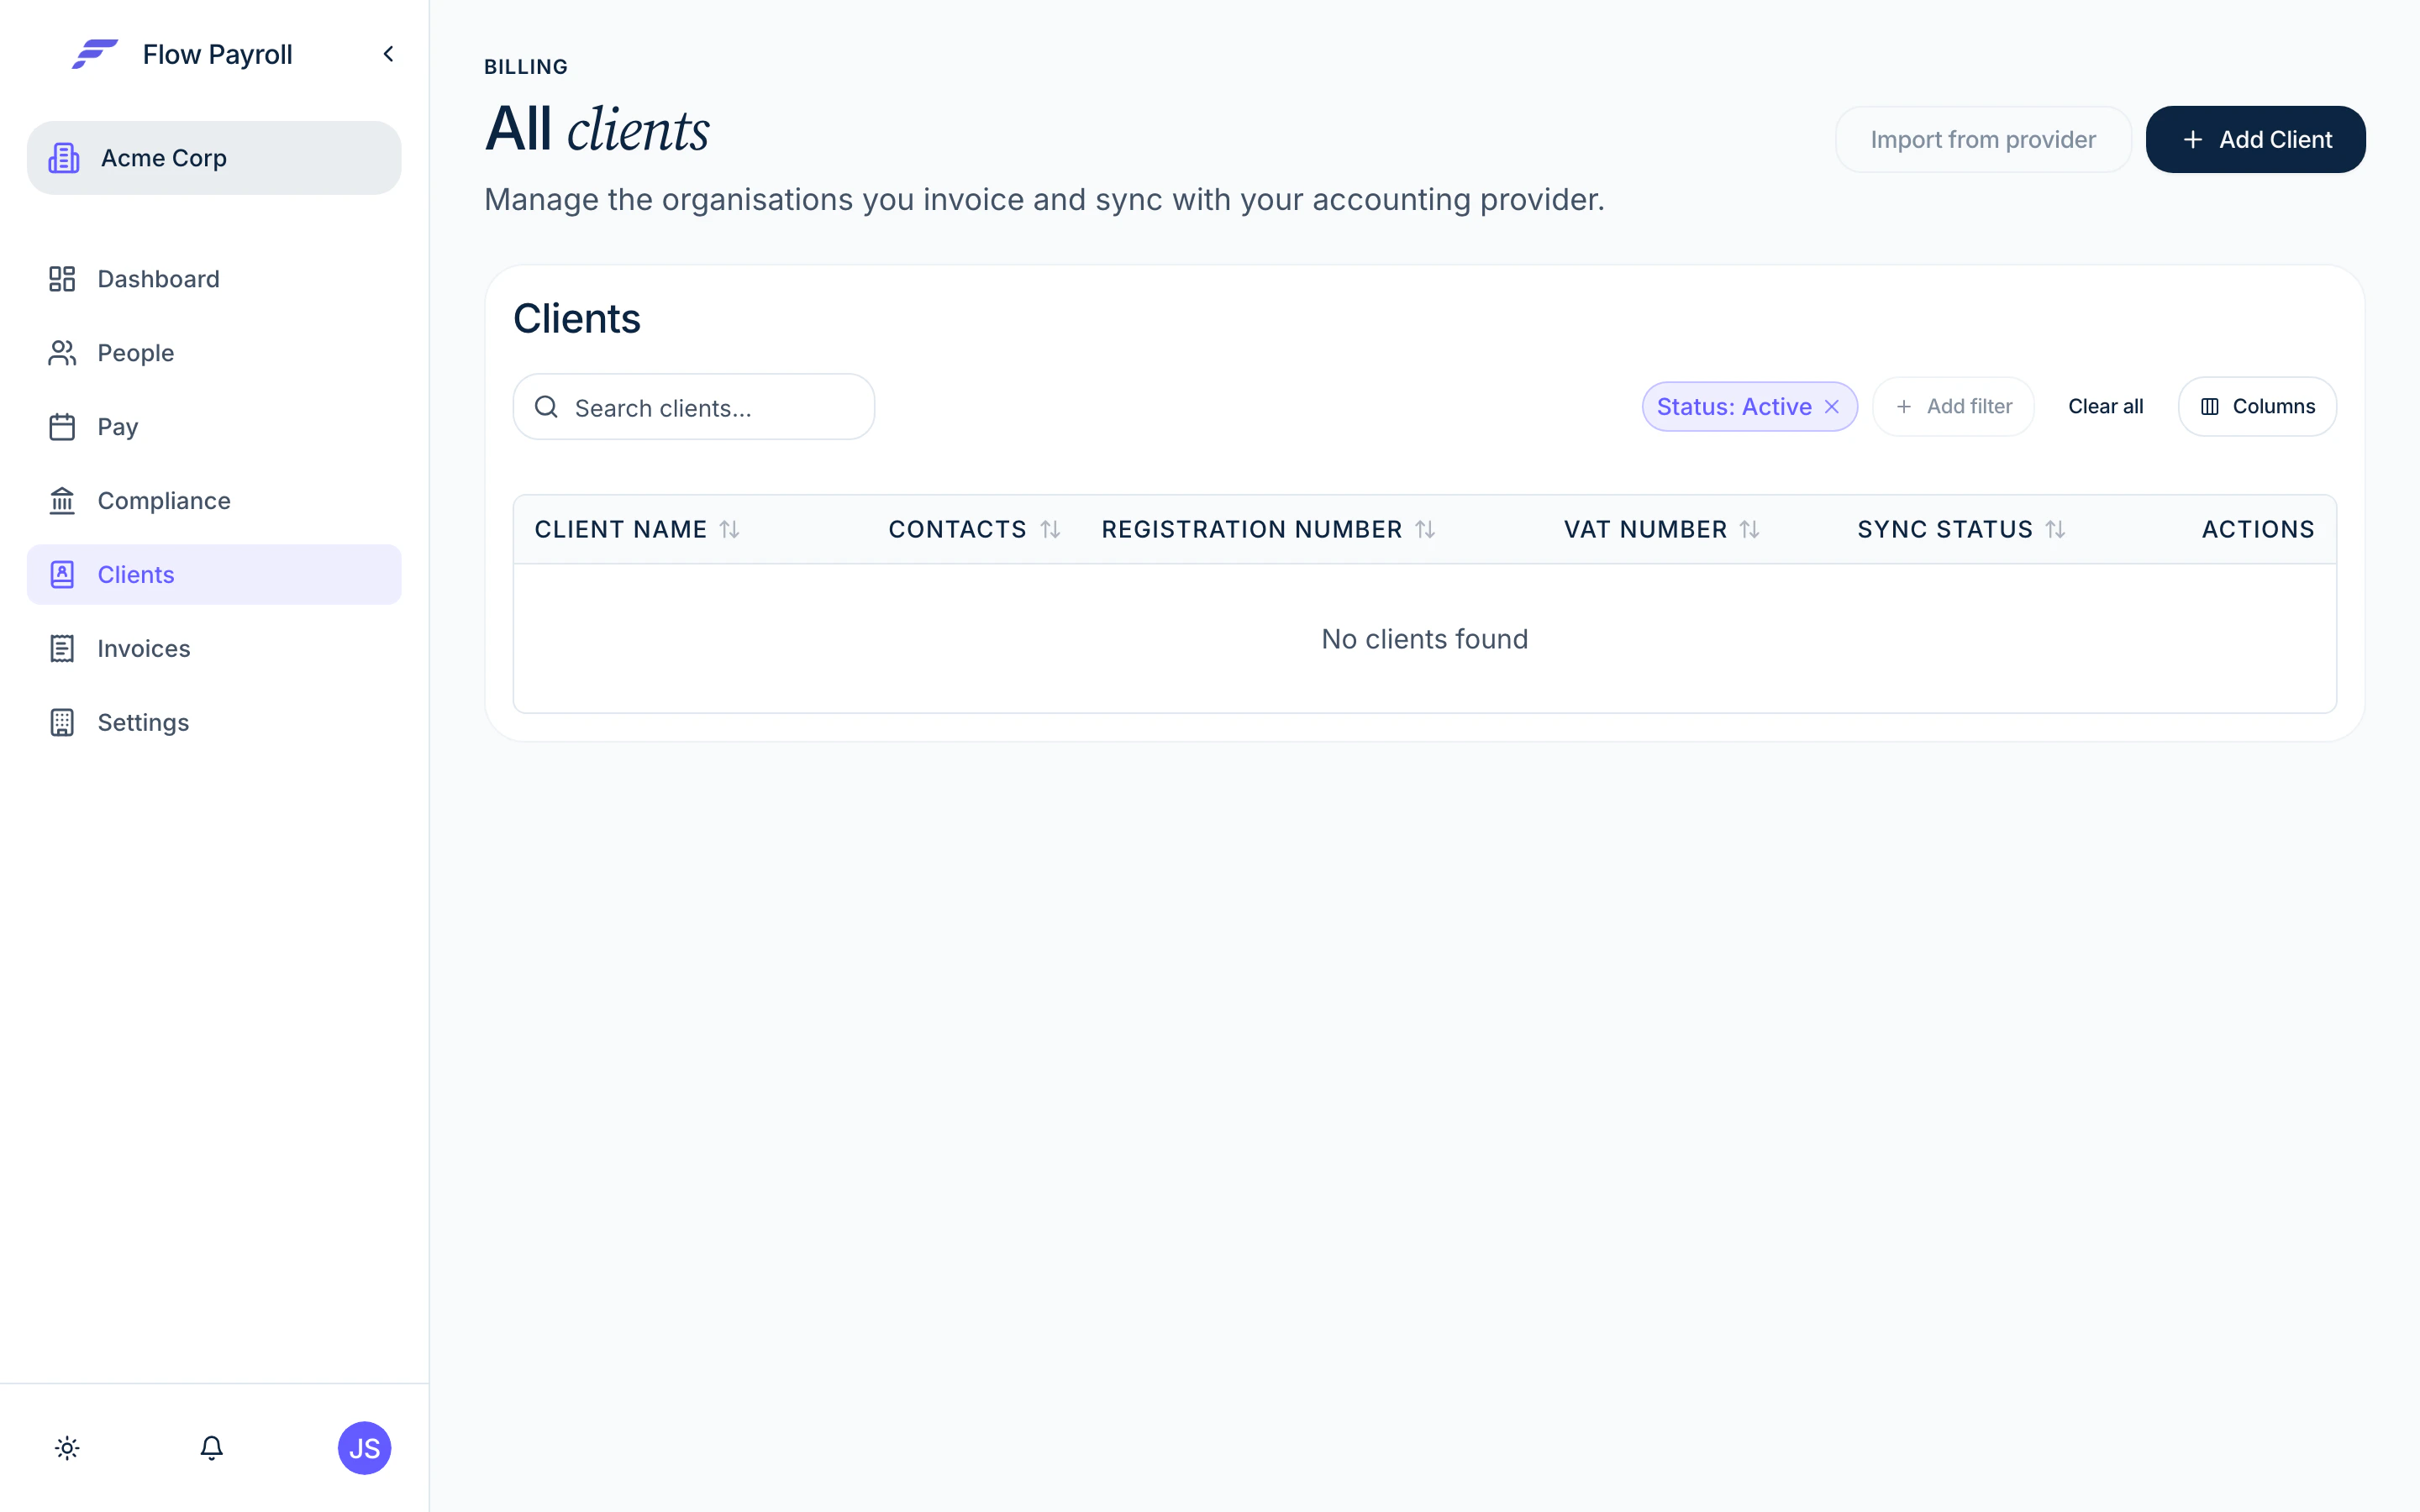
Navigate to **Clients** in the main menu to see all your active clients in a searchable table. The table shows client name, number of contacts, registration number, VAT number, sync status, and status (active or archived).
Use the **Status** filter to switch between active, archived, or all clients.
## Adding a client
On the Clients page, select **Add Client**.
Fill in at minimum the **Client Name** (required). Optionally add a **Client ID** — leave it blank to auto-generate one. Add **Registration Number** and **VAT Number** if relevant.
Choose a **Default Revenue Account** and **Default Tax** from your organisation's chart of accounts and tax rates. These default onto every new invoice for this client. If you have set organisation-wide defaults in **Settings → Billing**, they pre-fill here and you can leave them or override them.
A default revenue account and a default tax are required before you can raise invoices for this client. If neither is set at the organisation level, you must set them here.
| Field | Options | Effect |
| -------------------------- | ------------------------------------------- | ---------------------------------------------------------------- |
| **PO Requirement** | Required / Warning / None | Controls whether a PO number must be present on invoices |
| **Attachment Requirement** | Required / Warning / None | Controls whether line-item attachments are enforced |
| **Invoice Format** | Date / Pay code / PO number / Pay run / Tag | How invoice line items are grouped when payroll syncs to billing |
| **Rebate Percentage** | 0–100 | Applied as a discount across invoices for this client |
Enter a **Billing address** and optionally a **Physical address**.
Select **Add Contact** to add the people at this company. Each contact has a first name, last name, email, phone, and role. You can add as many contacts as you need.
If you are connected to Xero, only the first five contact persons per client are synced (a Xero API limit).
Select **Add Client**. The client appears in the table immediately.
### Importing clients from your accounting provider
If you are connected to an accounting provider such as Xero, you can import existing contacts directly rather than creating clients from scratch. On the Clients page, use the **Import from \[provider]** option. Select the contacts you want, then confirm the import.
## Editing a client
Select any row in the Clients table to open the client detail page. The detail page has several sections you can edit independently.
### Basic information
Edit the client's name, company registration number, VAT number, addresses, invoice format, PO requirement, attachment requirement, and rebate percentage. Save each section separately.
### Finance settings
The **Finance settings** section on the client detail page lets you set per-client overrides for invoicing behaviour.
Override the default revenue account, default tax rate, payment terms, currency, and line amount type (Exclusive or Inclusive) for this client. These apply when new invoices are created for this client and can still be changed per invoice on draft invoices.
**Payment terms** options:
* Days after the invoice date
* Days after the invoice month
Of the current month
* Of the following month
Set the number of days or day of month alongside the payment terms type.
When the client's invoice format is set to anything other than **None**, you can configure a custom reference formula using tokens (such as pay run, date, or PO number), fixed text, and separators. This controls how the invoice reference field is built automatically. Leave blank to use the raw grouping key.
Map specific pay elements to account codes and tax types for this client. When payroll syncs to billing, invoice lines are assigned these codes automatically. If no client-level mappings are set, the global payroll mapping from **Settings → Billing → Payroll mapping** is used instead.
Override the organisation-wide invoice or credit note template for this client only. You can customise layout, line description format, and attachment strategy per client, or copy from the organisation template as a starting point. Select **Remove override** to revert to the organisation template.
### Contacts
Add, edit, or remove the contacts associated with this client from the **Contacts** section. Changes sync to your accounting provider on the next sync.
### Tags
Add tags to classify the client by department, cost centre, or any category you choose.
## Sync status
The **Sync Status** column in the clients table reflects the last sync attempt with your accounting provider:
| Status | Meaning |
| ----------- | ----------------------------------------------------------- |
| **Synced** | Client is up to date in the provider |
| **Pending** | A sync is queued |
| **Failed** | Last sync failed — hover the badge to see the error message |
| — | Client has not been synced |
## Archiving and restoring clients
Removing a client behaves differently depending on whether they have billing records:
* If the client has **invoices or credit notes**, they are **archived** rather than deleted. Archived clients remain in the system but are hidden from the active list.
* If the client has **no billing records**, they are permanently deleted.
To restore an archived client, filter the table to **Archived** status, then use the restore icon on the relevant row.
## Where to go next
Raise invoices, issue credit notes, and sync to your accounting provider.
Run payroll for a client and feed the results into billing.
Understand how clients fit into the wider Flow Payroll model.
Set up your organisation before adding clients.
## What a client is
A client represents a company you serve. It holds:
* **Identity details** — name, company registration number, VAT number
* **Finance defaults** — default revenue account and tax rate used when creating invoices for this client
* **Billing preferences** — invoice format, PO number requirement, attachment requirement, payment terms
* **Contacts** — the people at the client company you bill or correspond with
* **Tags** — custom labels for filtering and reporting
Each client has its own pay run history, payslips, and billing records. Switching between clients shows only the data for that company.
## Viewing your clients
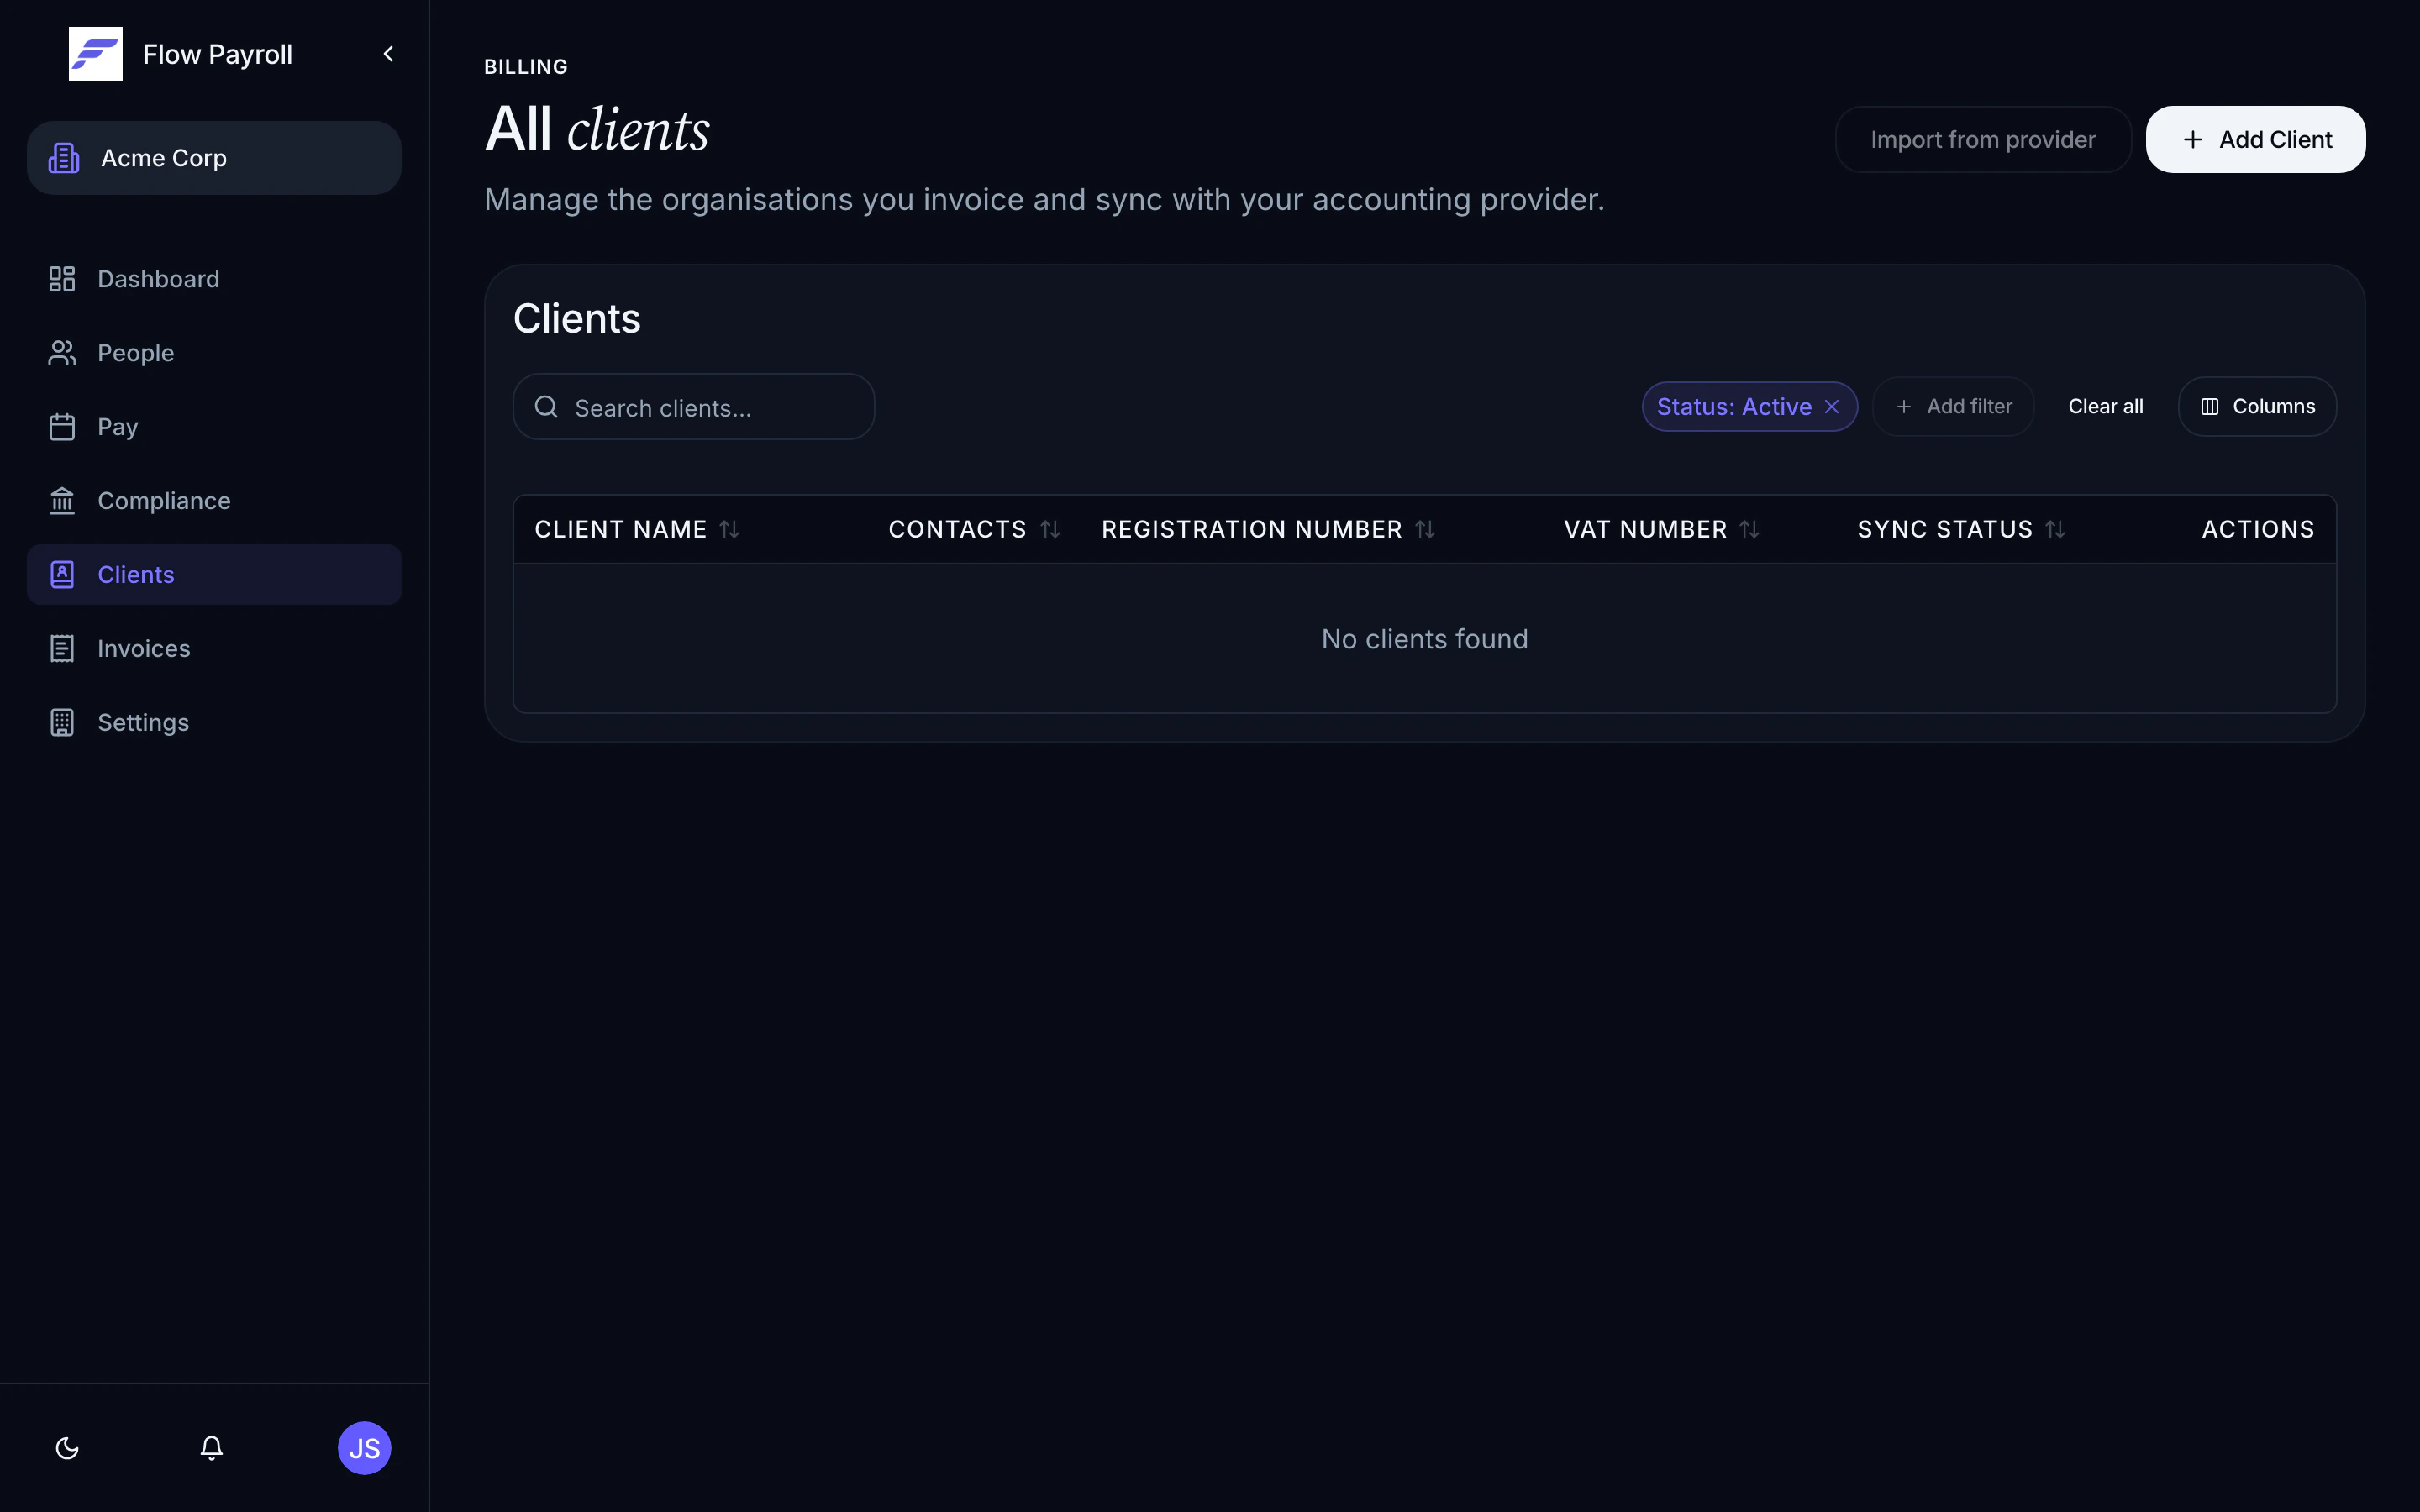
Navigate to **Clients** in the main menu to see all your active clients in a searchable table. The table shows client name, number of contacts, registration number, VAT number, sync status, and status (active or archived).
Use the **Status** filter to switch between active, archived, or all clients.
## Adding a client
On the Clients page, select **Add Client**.
Fill in at minimum the **Client Name** (required). Optionally add a **Client ID** — leave it blank to auto-generate one. Add **Registration Number** and **VAT Number** if relevant.
Choose a **Default Revenue Account** and **Default Tax** from your organisation's chart of accounts and tax rates. These default onto every new invoice for this client. If you have set organisation-wide defaults in **Settings → Billing**, they pre-fill here and you can leave them or override them.
A default revenue account and a default tax are required before you can raise invoices for this client. If neither is set at the organisation level, you must set them here.
| Field | Options | Effect |
| -------------------------- | ------------------------------------------- | ---------------------------------------------------------------- |
| **PO Requirement** | Required / Warning / None | Controls whether a PO number must be present on invoices |
| **Attachment Requirement** | Required / Warning / None | Controls whether line-item attachments are enforced |
| **Invoice Format** | Date / Pay code / PO number / Pay run / Tag | How invoice line items are grouped when payroll syncs to billing |
| **Rebate Percentage** | 0–100 | Applied as a discount across invoices for this client |
Enter a **Billing address** and optionally a **Physical address**.
Select **Add Contact** to add the people at this company. Each contact has a first name, last name, email, phone, and role. You can add as many contacts as you need.
If you are connected to Xero, only the first five contact persons per client are synced (a Xero API limit).
Select **Add Client**. The client appears in the table immediately.
### Importing clients from your accounting provider
If you are connected to an accounting provider such as Xero, you can import existing contacts directly rather than creating clients from scratch. On the Clients page, use the **Import from \[provider]** option. Select the contacts you want, then confirm the import.
## Editing a client
Select any row in the Clients table to open the client detail page. The detail page has several sections you can edit independently.
### Basic information
Edit the client's name, company registration number, VAT number, addresses, invoice format, PO requirement, attachment requirement, and rebate percentage. Save each section separately.
### Finance settings
The **Finance settings** section on the client detail page lets you set per-client overrides for invoicing behaviour.
Override the default revenue account, default tax rate, payment terms, currency, and line amount type (Exclusive or Inclusive) for this client. These apply when new invoices are created for this client and can still be changed per invoice on draft invoices.
**Payment terms** options:
* Days after the invoice date
* Days after the invoice month
Of the current month
* Of the following month
Set the number of days or day of month alongside the payment terms type.
When the client's invoice format is set to anything other than **None**, you can configure a custom reference formula using tokens (such as pay run, date, or PO number), fixed text, and separators. This controls how the invoice reference field is built automatically. Leave blank to use the raw grouping key.
Map specific pay elements to account codes and tax types for this client. When payroll syncs to billing, invoice lines are assigned these codes automatically. If no client-level mappings are set, the global payroll mapping from **Settings → Billing → Payroll mapping** is used instead.
Override the organisation-wide invoice or credit note template for this client only. You can customise layout, line description format, and attachment strategy per client, or copy from the organisation template as a starting point. Select **Remove override** to revert to the organisation template.
### Contacts
Add, edit, or remove the contacts associated with this client from the **Contacts** section. Changes sync to your accounting provider on the next sync.
### Tags
Add tags to classify the client by department, cost centre, or any category you choose.
## Sync status
The **Sync Status** column in the clients table reflects the last sync attempt with your accounting provider:
| Status | Meaning |
| ----------- | ----------------------------------------------------------- |
| **Synced** | Client is up to date in the provider |
| **Pending** | A sync is queued |
| **Failed** | Last sync failed — hover the badge to see the error message |
| — | Client has not been synced |
## Archiving and restoring clients
Removing a client behaves differently depending on whether they have billing records:
* If the client has **invoices or credit notes**, they are **archived** rather than deleted. Archived clients remain in the system but are hidden from the active list.
* If the client has **no billing records**, they are permanently deleted.
To restore an archived client, filter the table to **Archived** status, then use the restore icon on the relevant row.
## Where to go next
Raise invoices, issue credit notes, and sync to your accounting provider.
Run payroll for a client and feed the results into billing.
Understand how clients fit into the wider Flow Payroll model.
Set up your organisation before adding clients.