

The billing module is actively being developed. Core invoice and credit note management is available. Some features — such as payment recording and advanced reporting — may expand in future releases. Connect your accounting system under Settings → Integrations, then choose it for billing under Settings → Billing → Accounting system.
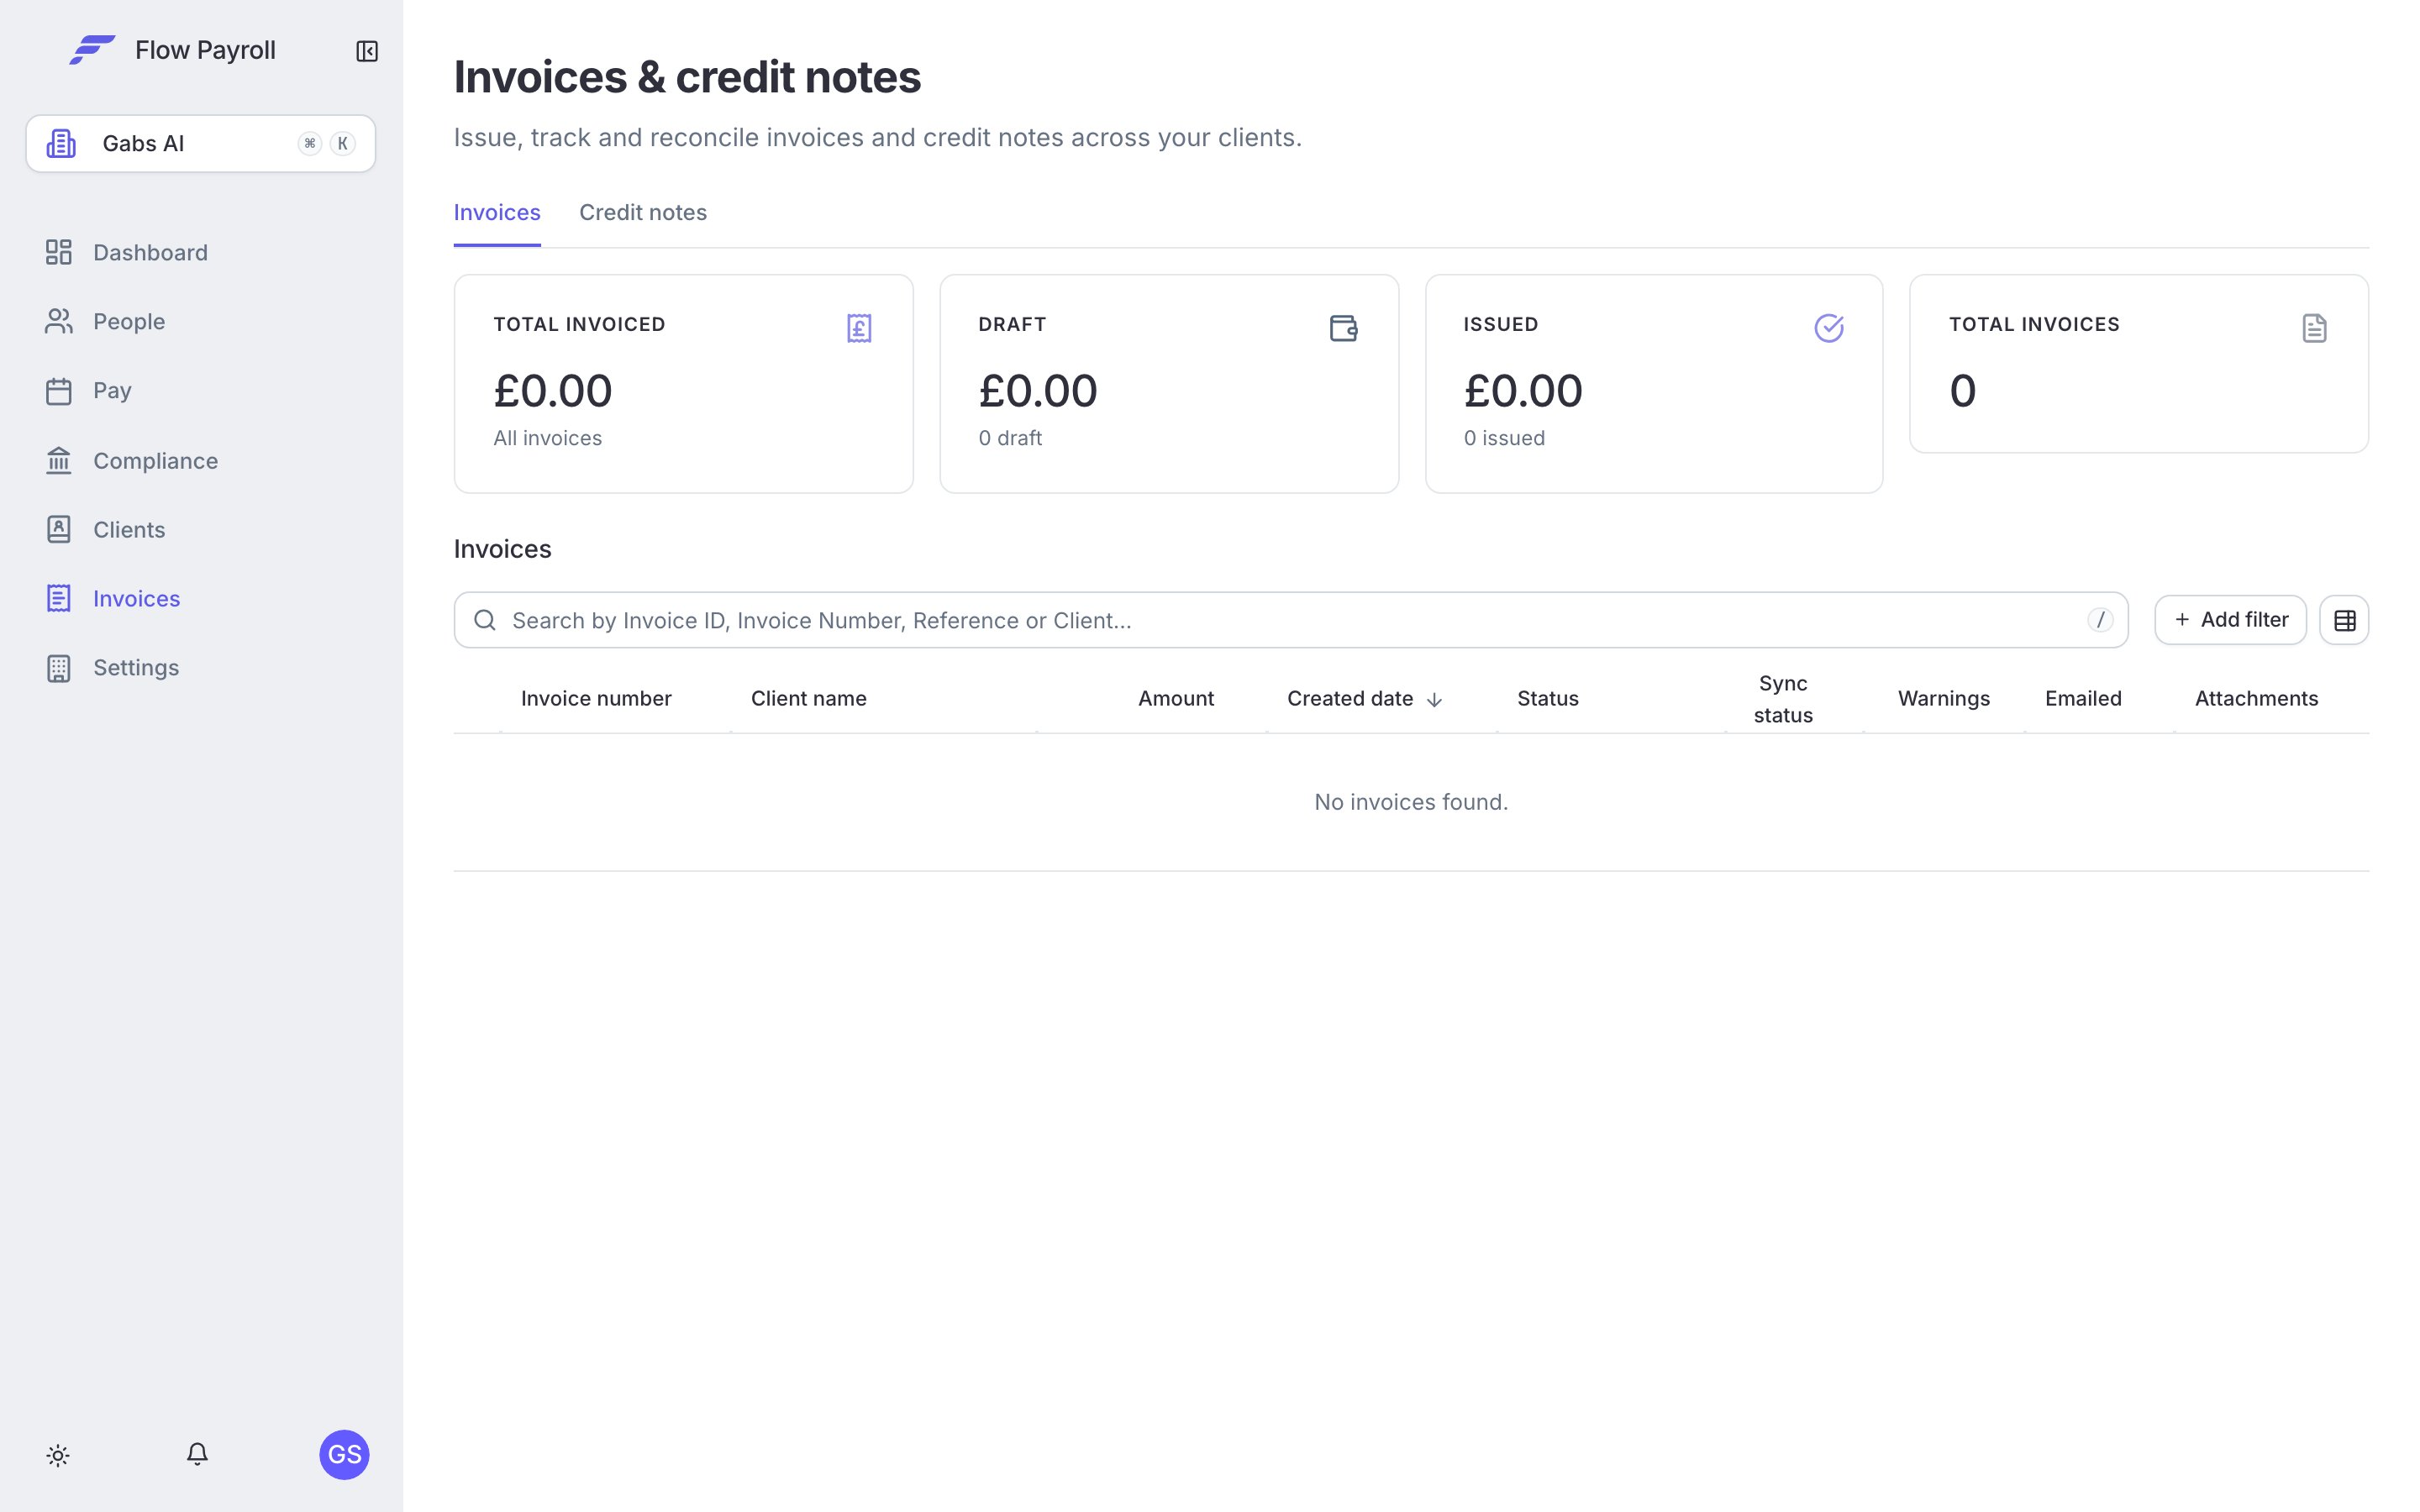
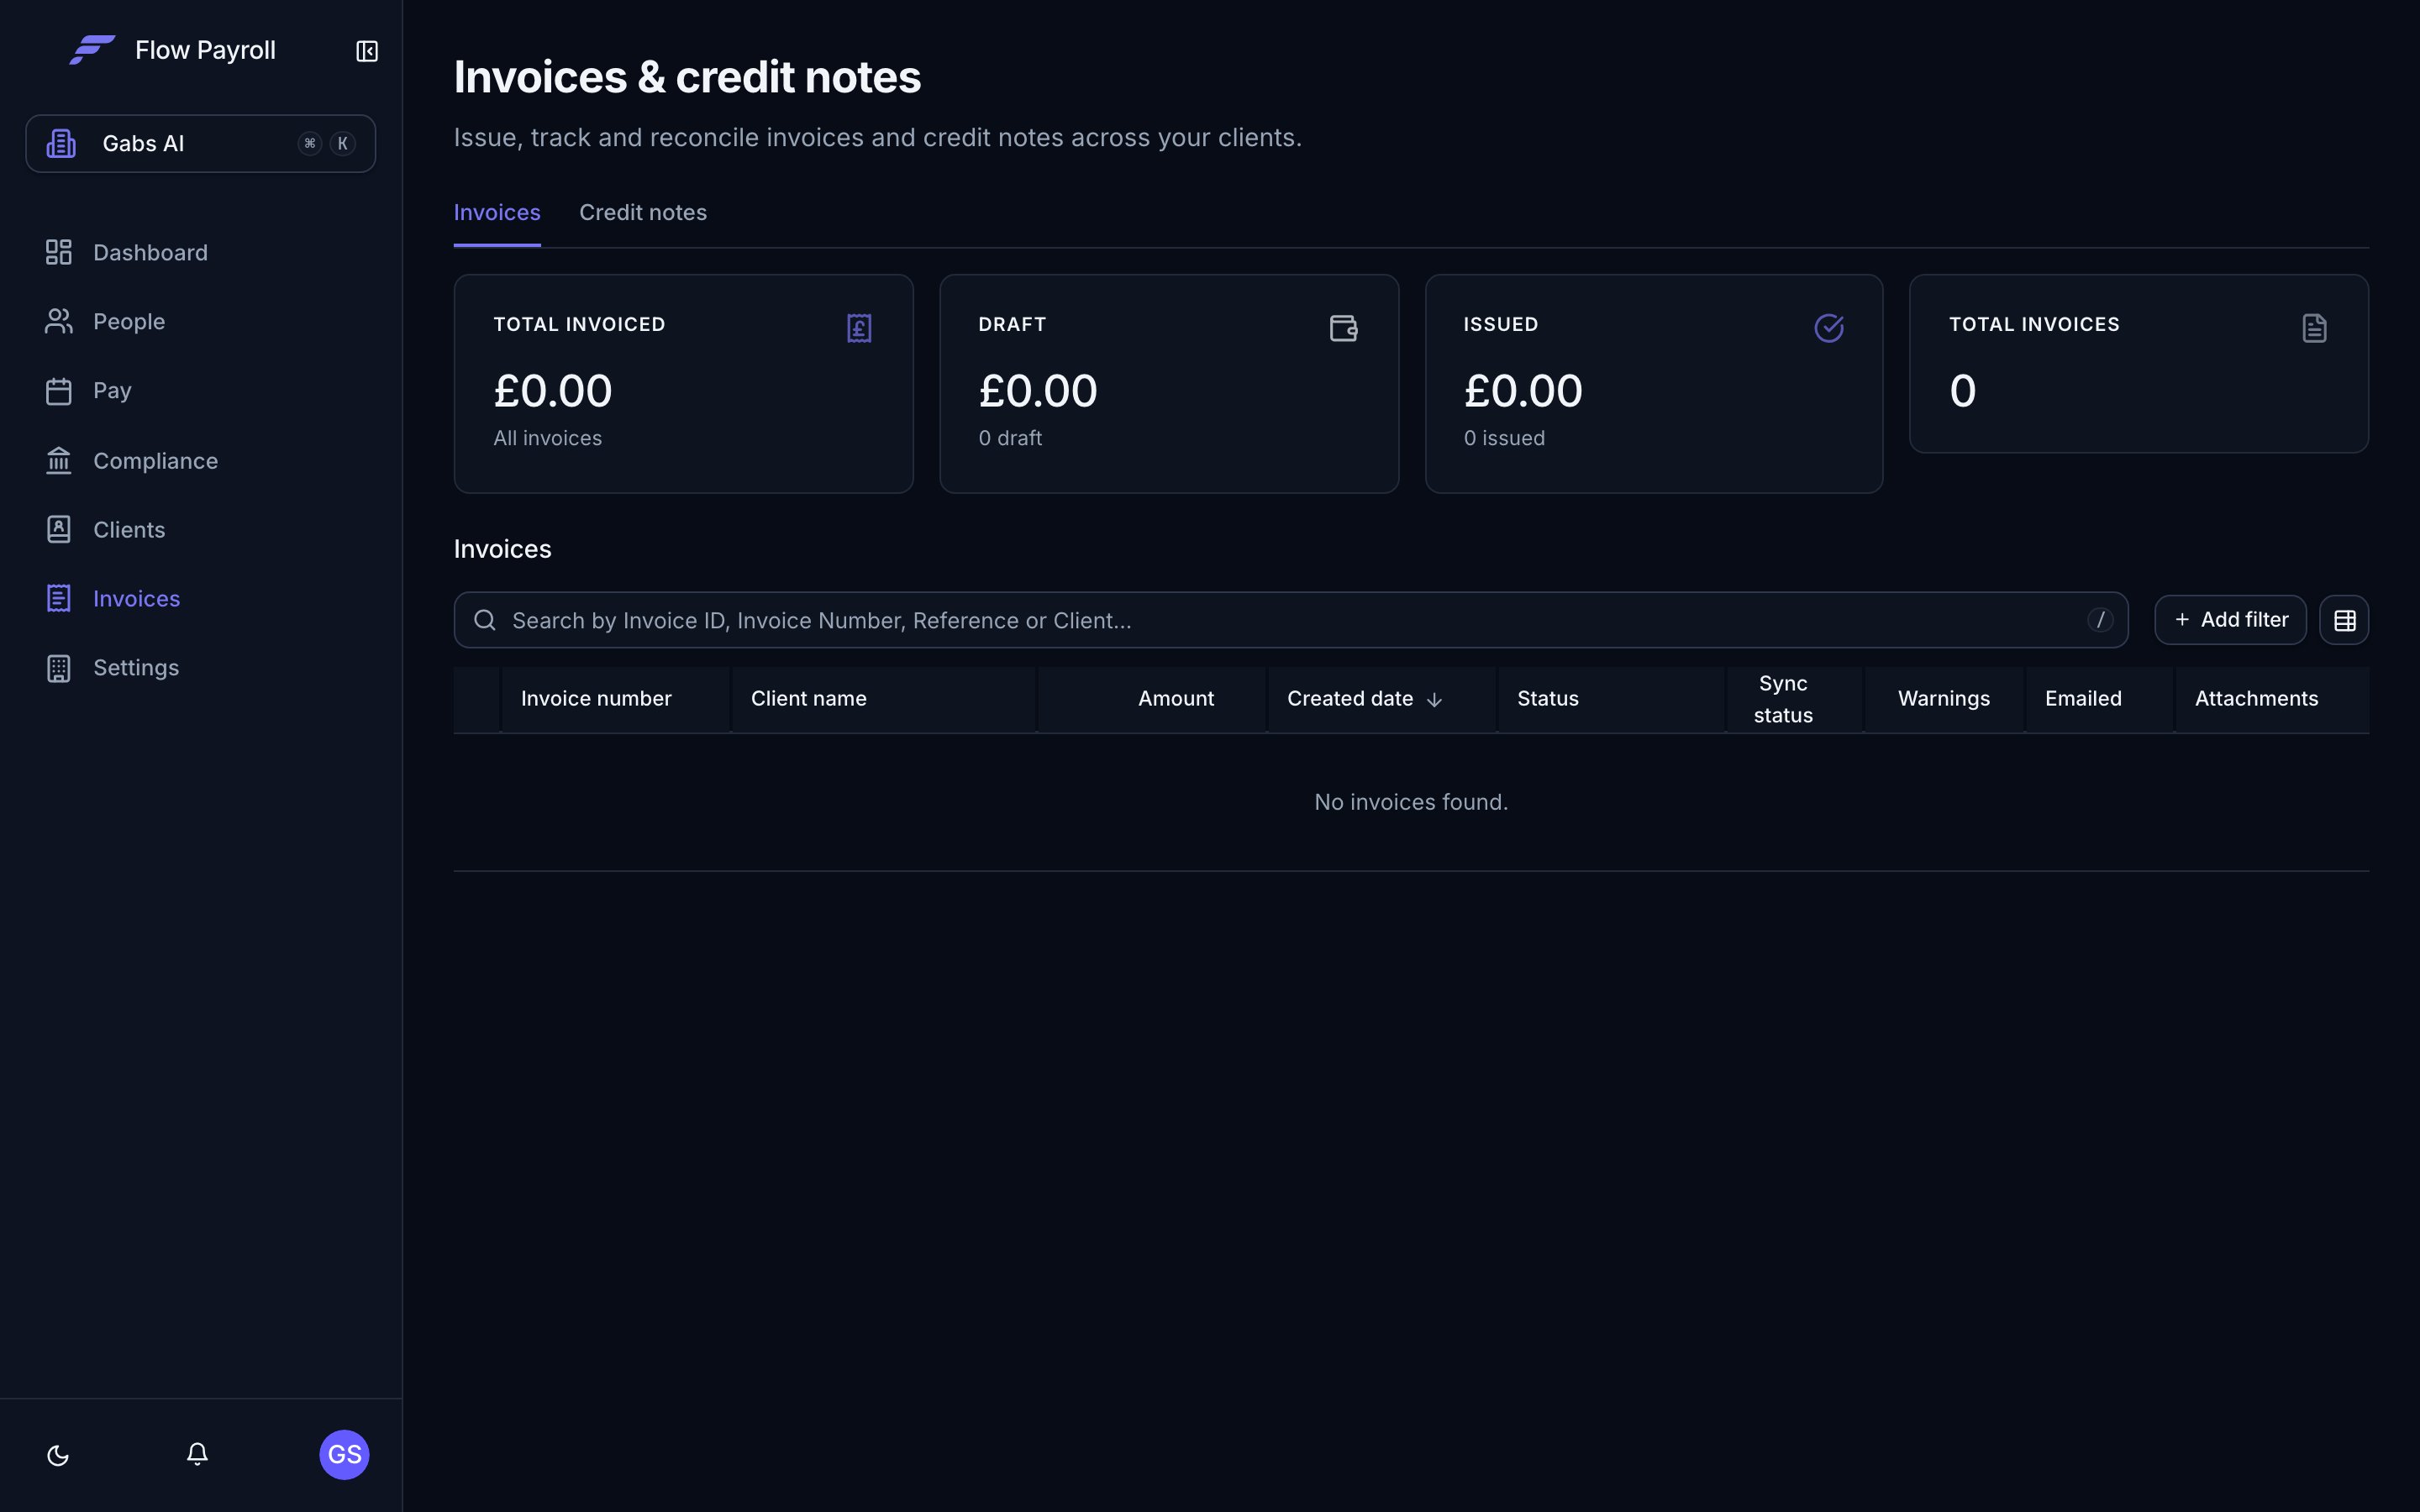
Invoices across your clients
Invoices
Invoice lifecycle
An invoice moves through the following statuses:Viewing invoices
Navigate to Invoices in the main menu to see all invoices across all clients in a single table. You can also view invoices scoped to one client from the client detail page. Filter invoices by status, invoice type (Sales or Purchase), client, amount range, date range, attachments, or line-item warnings (missing attachments, missing PO number).Invoice detail
Select any invoice row to open the detail view. It shows:- Invoice details — client, organisation, amount, balance due, status, type, format, dates, invoice number, reference, currency, and line amount type
- Line items — a table of every line, with amount, tax, account code, and any warnings
- Summary — subtotal, VAT / total tax, total, credits applied, and total balance due
- Credit applied — credit notes allocated against this invoice
- Attachments — documents uploaded at the invoice or line-item level
Editing a draft invoice
On a Draft invoice, you can change:- Invoice type — Sales or Purchase
- Due date
- Invoice number
- Reference — e.g. a PO number or internal reference
- Currency — GBP, USD, or EUR
- Line amount type — Exclusive (amounts exclude tax) or Inclusive (amounts include tax)
Voiding an invoice
On the invoice detail view, select Void invoice to cancel an invoice. Voiding is permanent and cannot be undone.Invoice attachments
You can upload supporting documents (PDF, Word, image files) to a draft invoice directly from the invoice detail view. Uploaded files appear in the Invoice attachments section and can be downloaded or deleted while the invoice remains a draft. Line-item level attachments are uploaded and managed per line in the line items table. The invoice header shows a count of line-item attachments separately.Sending to your accounting system
If you have connected an accounting system, select Send on the invoice detail view. Nothing goes across on its own — closing an invoice does not send it — so an invoice reaches the customer’s ledger only when somebody decides it should. Once it has landed, a Download PDF button appears to retrieve the rendered document. Attachments on the invoice and its line items follow the invoice once the accounting system has it.Credit notes
A credit note reduces an amount owed by a client. You can create a credit note standalone (leaving credit on the client’s account) or allocate it directly against a specific invoice.Credit note lifecycle
Creating a credit note
You can create a credit note from two places:- The Credits tab on a client detail page
- The Credit applied section on an invoice detail view (when the invoice is in Draft or Issued status)
- Quick Credit
- Full credit note
Use Quick Credit for simple one-line credits. Enter an amount, a reason, and optionally a reference. The credit is created using the client’s default revenue account and default tax rate.Quick Credit requires at least one active tax rate and one active revenue account to be configured — either in the client’s Finance settings or in Settings → Billing.
Authorising and allocating credit
A credit note must be Authorised before it can be applied to an invoice. To apply credit to an invoice:- Open the invoice detail view.
- In the Credit applied section, select Apply credit.
- Choose the authorised credit note and enter the amount to allocate.
- Confirm.
Credit notes on the client page
The Credits tab on a client detail page lists all credit notes for that client with their original amount, available balance, status, and any allocations. Expand a row to see usage (which invoices the credit has been applied to and for how much).Finance settings
Finance settings control how invoices and credit notes are created for a client. Configure them in the Finance settings section on the client detail page, or set organisation-wide defaults in Settings → Billing. Key settings:
For full details on client-level finance configuration, see managing clients.
Sending to your accounting system
Flow Payroll can send invoices and credit notes to a connected accounting system. Each one is sent when you press send; none of it happens on its own.- Clients are sent as contacts, either on their own or carried along with the first document that names them.
- Invoices are sent individually or in bulk.
- Credit notes are sent with their allocations, so the customer’s balance is right in one step.
- Status is visible on each invoice, credit note and client row, and reflects what the accounting system last told us.
Where to go next
Managing clients
Add and configure the companies you bill.
Running a pay run
Complete a pay run before syncing payroll to billing.
API reference
Automate invoice creation and sync via the Flow Payroll API.
Getting started
Set up your organisation before using the billing module.